
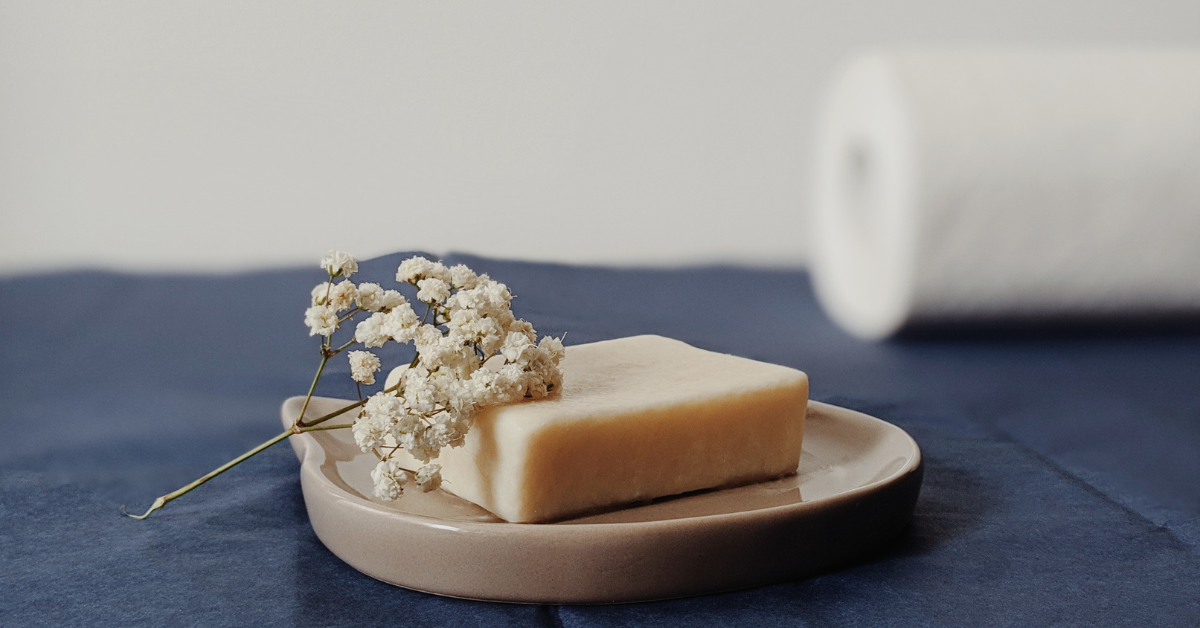
Soap making is more than a craft—it’s a satisfying, creative, and empowering journey. Whether you’re here to learn the basics, dive deep into techniques, or simply find the right tools for the job, you’re in the right place.
From melt and pour to cold process and everything in between, this site is dedicated to helping you make beautiful, skin-loving soap at home—without feeling overwhelmed.
Your Go-To Soap Making Guides
New to soap making? Our Guides Section breaks down everything you need to know—step-by-step. We’ve created detailed tutorials and helpful how-tos for every level, whether you’re just starting out or looking to fine-tune your skills.
Some things you’ll find in the guides:
-
How to choose the right soap making method for you
-
Beginner tutorials with photos and tips
-
Advanced techniques for scenting, swirling, and coloring
-
Safety guides for handling lye and working with natural ingredients
We keep it practical, fun, and clear—so you can spend more time creating and less time searching for answers.
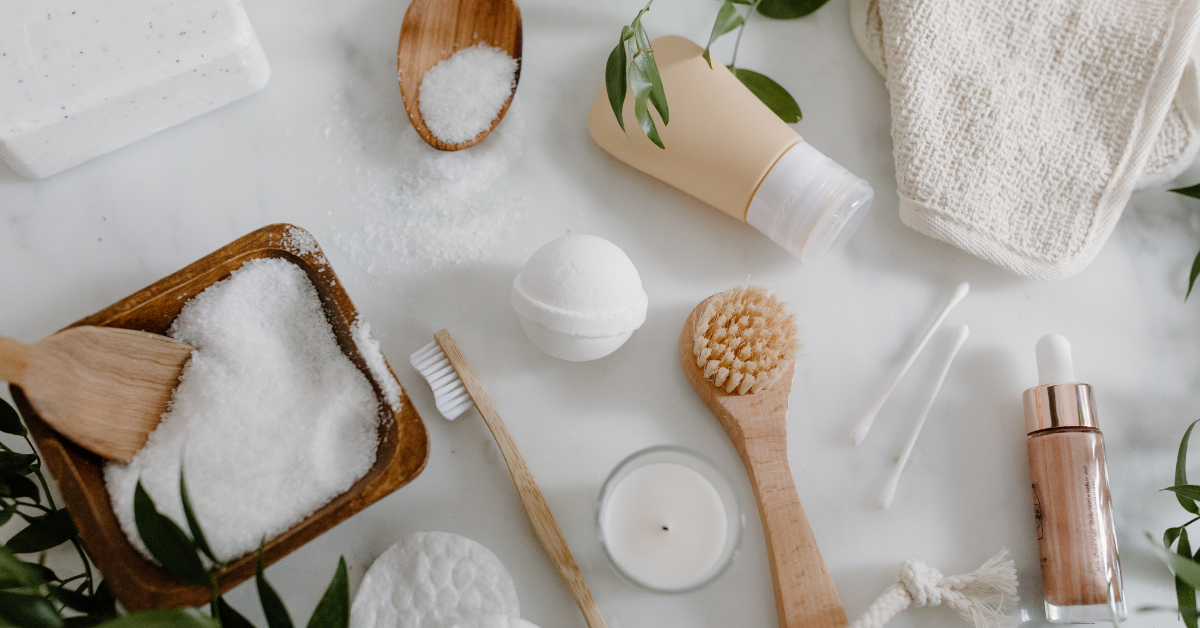
Soap Making Supplies Made Simple
Finding the right ingredients and tools shouldn’t be a hassle. Our Supplies Section helps you cut through the noise and get what you need—whether you’re shopping on a budget or looking for premium options.
Inside, you’ll find:
-
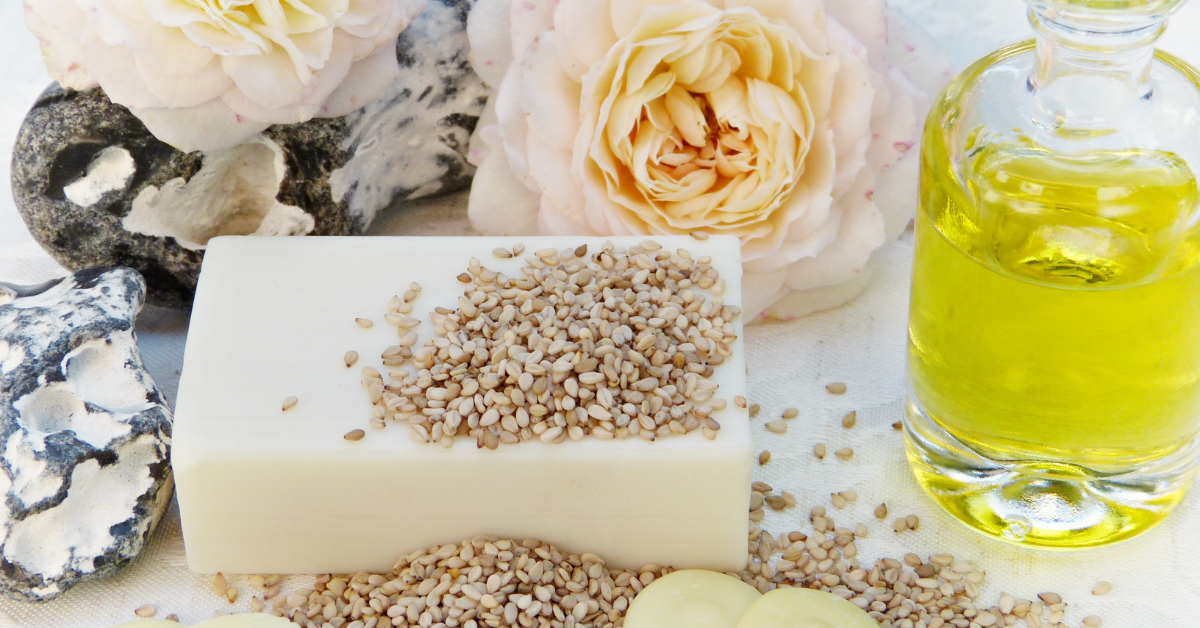
Ingredient breakdowns (like oils, butters, essential oils)
-
Tool recommendations and alternatives
-
Where to buy quality supplies online
-
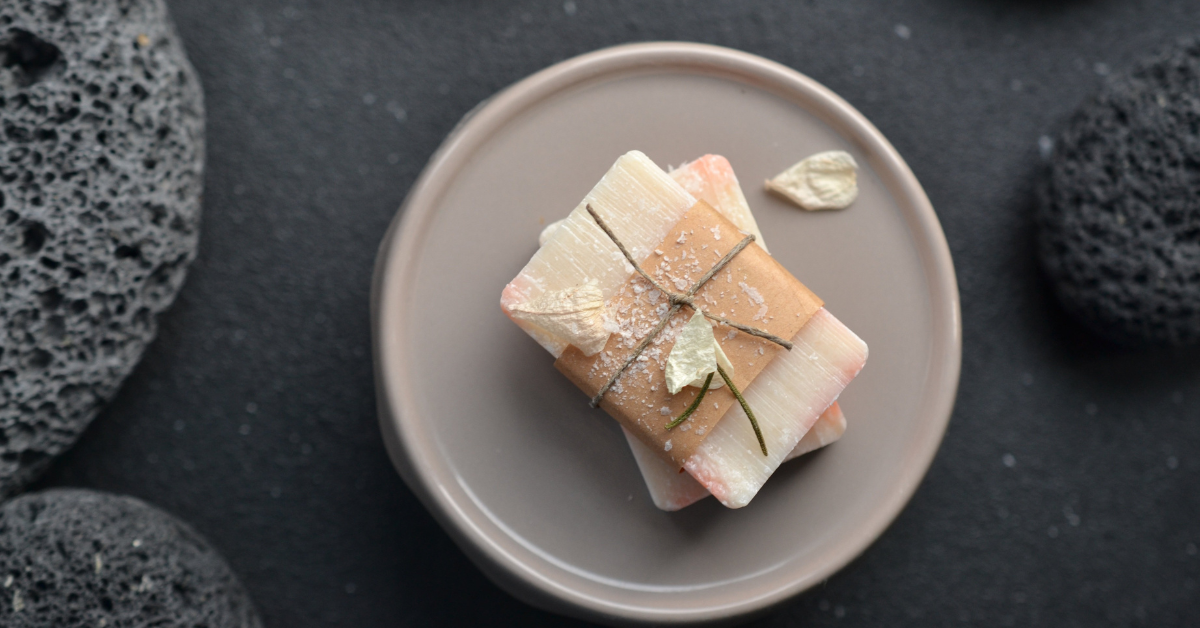
Eco-friendly packaging ideas for your homemade soaps
It’s all about helping you get started (and stay stocked) without the guesswork.
❓ Got Questions? We’ve Got Answers
Soap making can feel confusing when you’re new—or even when you’re not. That’s why we’re building a Q&A Section to answer your most common questions.
We cover real, reader-submitted topics like:
-
“Why did my soap turn out soft?”
-
“What oils are best for dry skin?”
-
“Is melt and pour soap real soap?”
This section is constantly growing, and we welcome your questions! Think of it like your personal soap making help desk.
Let’s Get Started
Soap making is a skill you can grow into for life. Whether you want a fun weekend project, a natural solution for your skincare routine, or the start of a small business, this site is here to support you.
So take a look around. Check out our Guides, stock up through our Supplies section, or browse our Q&A for quick help.
Let’s make something amazing—one bar at a time. ✨